Sunday, October 26, 2014

Oatmeal Cranberry Cookies

This last Friday I had a day off of school, because it was a flex day for the teachers. I was super excited about my three day weekend and planned tons of activities to do. As always some plans fall through. One activity that I did get to do was bake my favorite kind of cookies. Oatmeal raisin cookies are in my top five favorite cookies. Unfortunately we had no raisins in the house, but we did have cranberries. (which I love way more than raisins) I found a recipe on Pinterest and changed it up a little bit.


Ingredients:
 1 1/4 sticks margarine or butter, softened
3/4 cup firmly packed brown sugar
1/2 cup granulated sugar
 2 eggs
1 tsp vanilla
1 1/2 cups all-purpose flour
1 tsp baking soda
1 tsp ground cinnamon (heaping if you love cinnamon)
1/2 tsp salt
1/2 tsp ground nutmeg
3 cups Quaker Oats (quick or old-fashioned, uncooked. NOT instant)
1 cup cranberries


Preheat oven to 375.
 
Mix melted butter and sugars together until it is a creamy mixture .

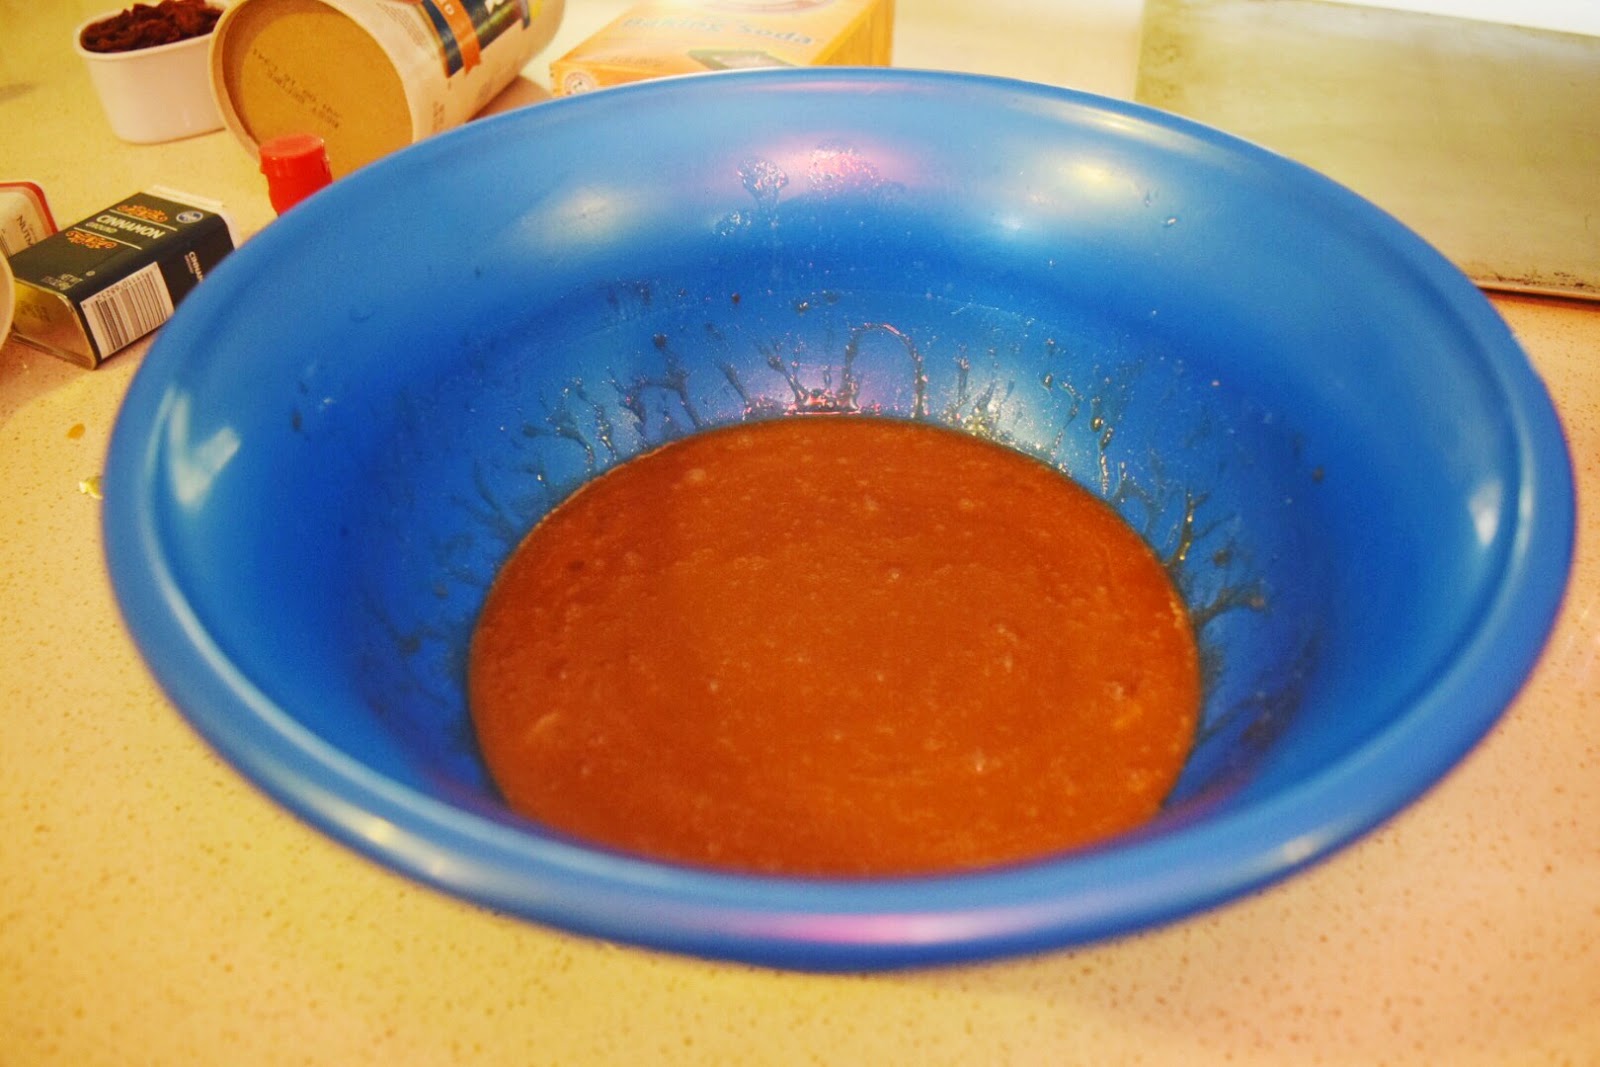
Add egg and vanilla and mix again. Now add the flour, baking soda, cinnamon, salt and nutmeg. Mix well again. Now stir in oats. After you have your oatmeal mixture, fold in the cranberries.


Roll mixture into balls and lay them on a cookie sheet evenly.

 
For a chewy texture leave cookies in over for 9-11 minutes. For a crisp texture leave cookies in oven for 12-14 minutes.

 
Hope you guys try this recipe out!
Thanks for reading. Have a lovely day.
 
-Britni 


Tuesday, October 21, 2014

Floral Lettering

Hellooooo!

Today I was getting my crafty on and decided to do a DIY project I have been dying to do for weeks. This project was floral lettering to hang as wall décor. I got the idea from Pinterest, but I tweaked it a little bit. As I was thinking about what shape I wanted to make this I keep thinking of letters like B for Britni. But I decided to not do something cliché and I went with the "&". I chose this sign because I think it is just kind of random and cute.

The only things you will need is Styrofoam, fake flowers, a hot glue gun, and a box cutter/scissor.

Step 1: Draw your letter of sign out on the Styrofoam or cardboard.

Step 2: Use your box cutters/scissors to cut out the shape. It does not really matter if the edges are smooth or even because the flowers will cover them.

Step 3: Start to glue the flowers to the cut out. For good results try to get a variety of colorful flowers and spread the colors out evenly.

After you have all the flowers glued, you have a cute floral wall décor.


Hope you guys enjoyed this DIY post! See you guys soon. :)

-Britni


Monday, October 20, 2014

Sunday Walks with Momma

Two post in one day? Oh well! Yesterday my mother and I went on a looooong walk through our town's wooded nature trail and the paved trail. It was a great mother & daughter bonding time and another opportunity to take pictures. I basically always have my camera with me wherever I go. I just wanted to share some of the pictures I captured on our walk with you guys. I hope you guys enjoy and have a wonderful day. :)


Pumpkin Patch

One of my favorite things to do in fall is go to a pumpkin patch. I think it is a fun way to celebrate fall and a great opportunity to capture great pictures. (I'm always up for taking pictures) I am fortunate to have a fruit research farm in my town. This farm has strawberries, blueberries, apples, grapes, and many more fruits that they research all year long. And during the fall they always grow pumpkins. This last Saturday my boyfriend and I went up there to take pictures and hopefully buy a pumpkin to carve. Unfortunately the pumpkins had already been picked over and were either too small or warty. So we decided just to buy one from Wal-Mart. We still had so much fun and got great pictures from our trip. If you have a chance to go to a pumpkin patch this fall GO because it is a blast. We have not carved our pumpkin yet, but when we do I will do a post about it. So stay tuned. 
Thanks for reading, and have a good day.  


Tuesday, October 14, 2014

Picture Frame

I feel like it has been forever since I have posted anything! But I'm back with a fun craft that doesn't take long at all, and is a great way to present photos. I am going to college next year, and I am wanting several ways to hang pictures in my dorm room. And I thought why not start making a few now. I have a few other ideas I want to make that are super cute ways to hang photos. This craft is super easy and cheap.
To start this project you need a picture frame, I used one of my old canvas and ripped of the material where it was just the wooden frame. You will also need paint, paint brush, string, and close pins.

I started off with ripping the canvas material of my frame. If you use can old canvas frame there will be staples on one side, just turn it over and use the other side. You may have just bought a frame, so you won't have to deal with this.
 
 
Paint all sides of the frame with a paint color of your choice. In my bedroom, I have one maroon wall and the other three are cream, so I chose the leftover maroon paint. After painting all the sides, wait until the frame is dry before you start the next step.


Now that the paint is dry start to measure how long each strand of string needs to be to reach from one side to the other. Depending on what size your frame is will determine how long and how many strands you will have. Once you have them all cut, start to glue one end of the strand to the frame. Let that one end dry completely before gluing the other end, because you want the strings to be tight and when you pull the string if the end is not dried yet then it will slide off. I used hot glue, but there are several other ways to go about this.
When you have completed gluing all the strings, your frame is finished.


Thank you guys so much for reading, and I hope you enjoyed this fun and easy project. I have many ideas for future post, so stay tuned. Have a wonderful week. :)