Showing posts with label DIY. Show all posts

Tuesday, October 21, 2014

Floral Lettering

Hellooooo!

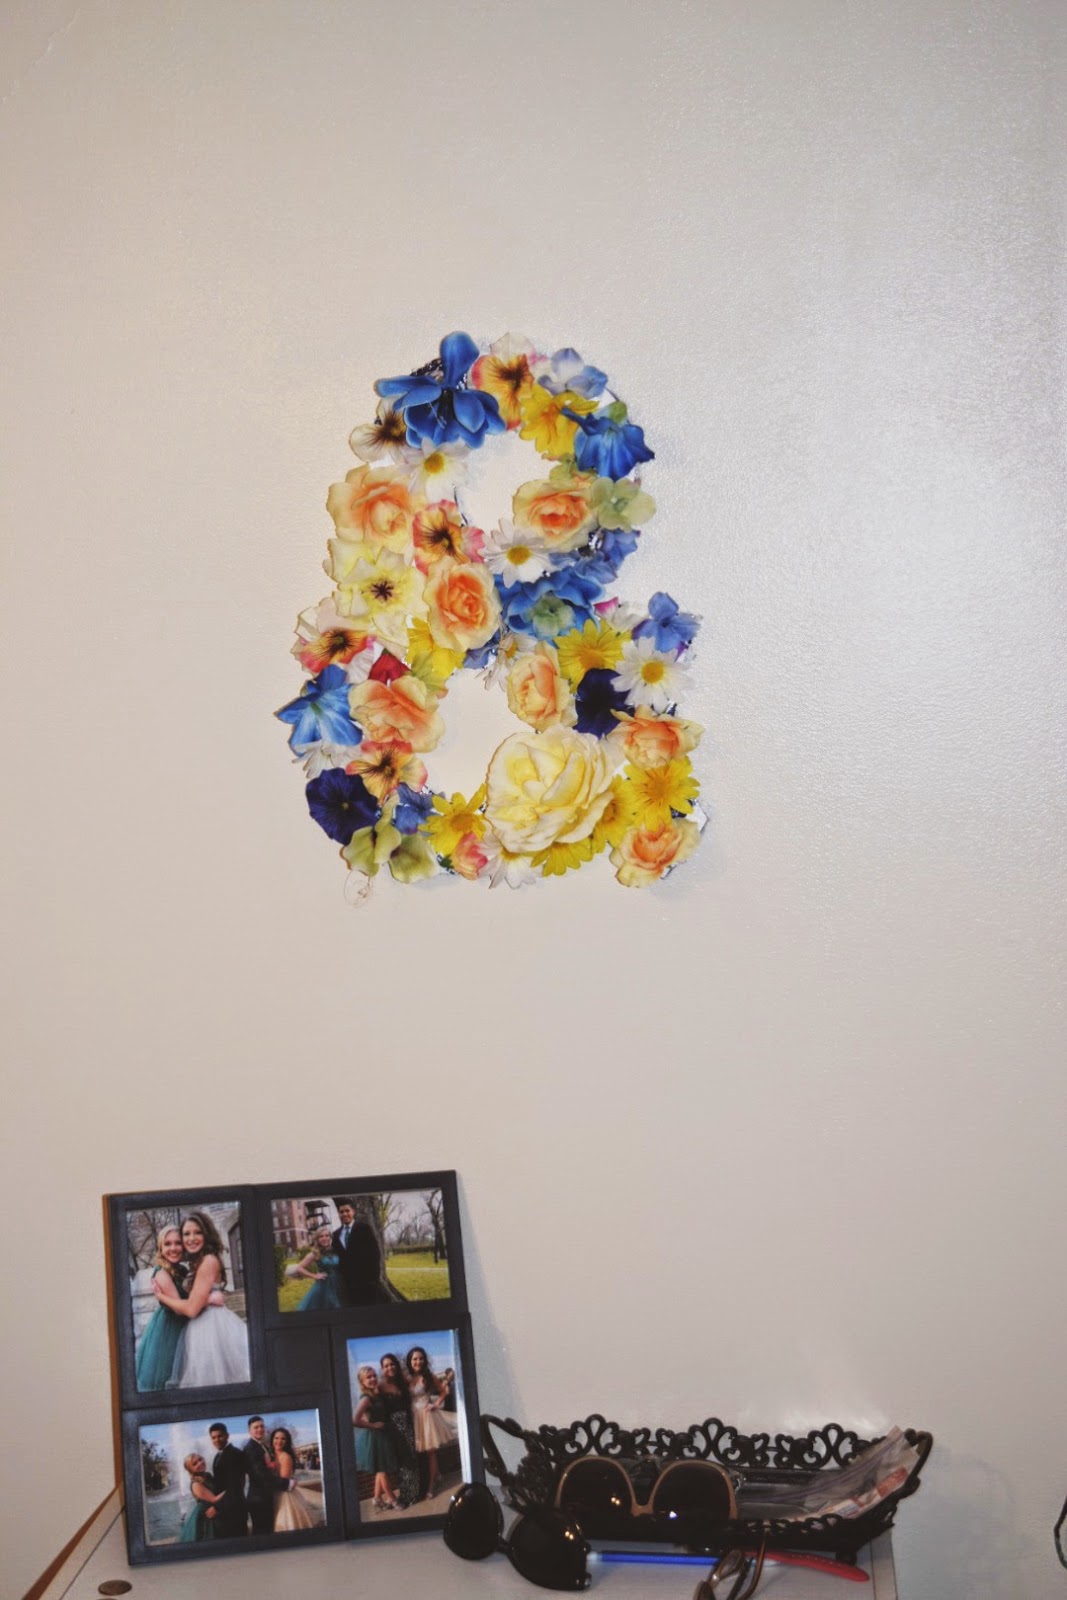
Today I was getting my crafty on and decided to do a DIY project I have been dying to do for weeks. This project was floral lettering to hang as wall décor. I got the idea from Pinterest, but I tweaked it a little bit. As I was thinking about what shape I wanted to make this I keep thinking of letters like B for Britni. But I decided to not do something cliché and I went with the "&". I chose this sign because I think it is just kind of random and cute.

The only things you will need is Styrofoam, fake flowers, a hot glue gun, and a box cutter/scissor.

Step 1: Draw your letter of sign out on the Styrofoam or cardboard.

Step 2: Use your box cutters/scissors to cut out the shape. It does not really matter if the edges are smooth or even because the flowers will cover them.

Step 3: Start to glue the flowers to the cut out. For good results try to get a variety of colorful flowers and spread the colors out evenly.

After you have all the flowers glued, you have a cute floral wall décor.


Hope you guys enjoyed this DIY post! See you guys soon. :)

-Britni


Tuesday, October 14, 2014

Picture Frame

I feel like it has been forever since I have posted anything! But I'm back with a fun craft that doesn't take long at all, and is a great way to present photos. I am going to college next year, and I am wanting several ways to hang pictures in my dorm room. And I thought why not start making a few now. I have a few other ideas I want to make that are super cute ways to hang photos. This craft is super easy and cheap.
To start this project you need a picture frame, I used one of my old canvas and ripped of the material where it was just the wooden frame. You will also need paint, paint brush, string, and close pins.

I started off with ripping the canvas material of my frame. If you use can old canvas frame there will be staples on one side, just turn it over and use the other side. You may have just bought a frame, so you won't have to deal with this.
 
 
Paint all sides of the frame with a paint color of your choice. In my bedroom, I have one maroon wall and the other three are cream, so I chose the leftover maroon paint. After painting all the sides, wait until the frame is dry before you start the next step.


Now that the paint is dry start to measure how long each strand of string needs to be to reach from one side to the other. Depending on what size your frame is will determine how long and how many strands you will have. Once you have them all cut, start to glue one end of the strand to the frame. Let that one end dry completely before gluing the other end, because you want the strings to be tight and when you pull the string if the end is not dried yet then it will slide off. I used hot glue, but there are several other ways to go about this.
When you have completed gluing all the strings, your frame is finished.


Thank you guys so much for reading, and I hope you enjoyed this fun and easy project. I have many ideas for future post, so stay tuned. Have a wonderful week. :)

Saturday, September 27, 2014

Mini Apple Pie

It was a baking and college football kind of Saturday for me. Since I love autumn, I have been looking up some fall receipts on Pinterest. I found this receipt and I wanted to try it right away.  These little caramel apple pies are the cutest thing to take for a party or to give away for holiday gifts. They are bite size and not as many calories compared to eating a slice of regular sized apple pie. They are so cute and tasty, and I hope you guys try this receipt.

Ingredients:
1 box of Pillsbury pie crust (or any brand you prefer)
2 cups of peeled Granny Smith
2 tablespoons of all-purpose flour
1 teaspoon of cinnamon
1/4 cup sugar
10-15 Caramel cubes (varies in number)
3 tablespoons of lemon juice
egg wash (1 egg and 1 tablespoon of water)
crystal sugar
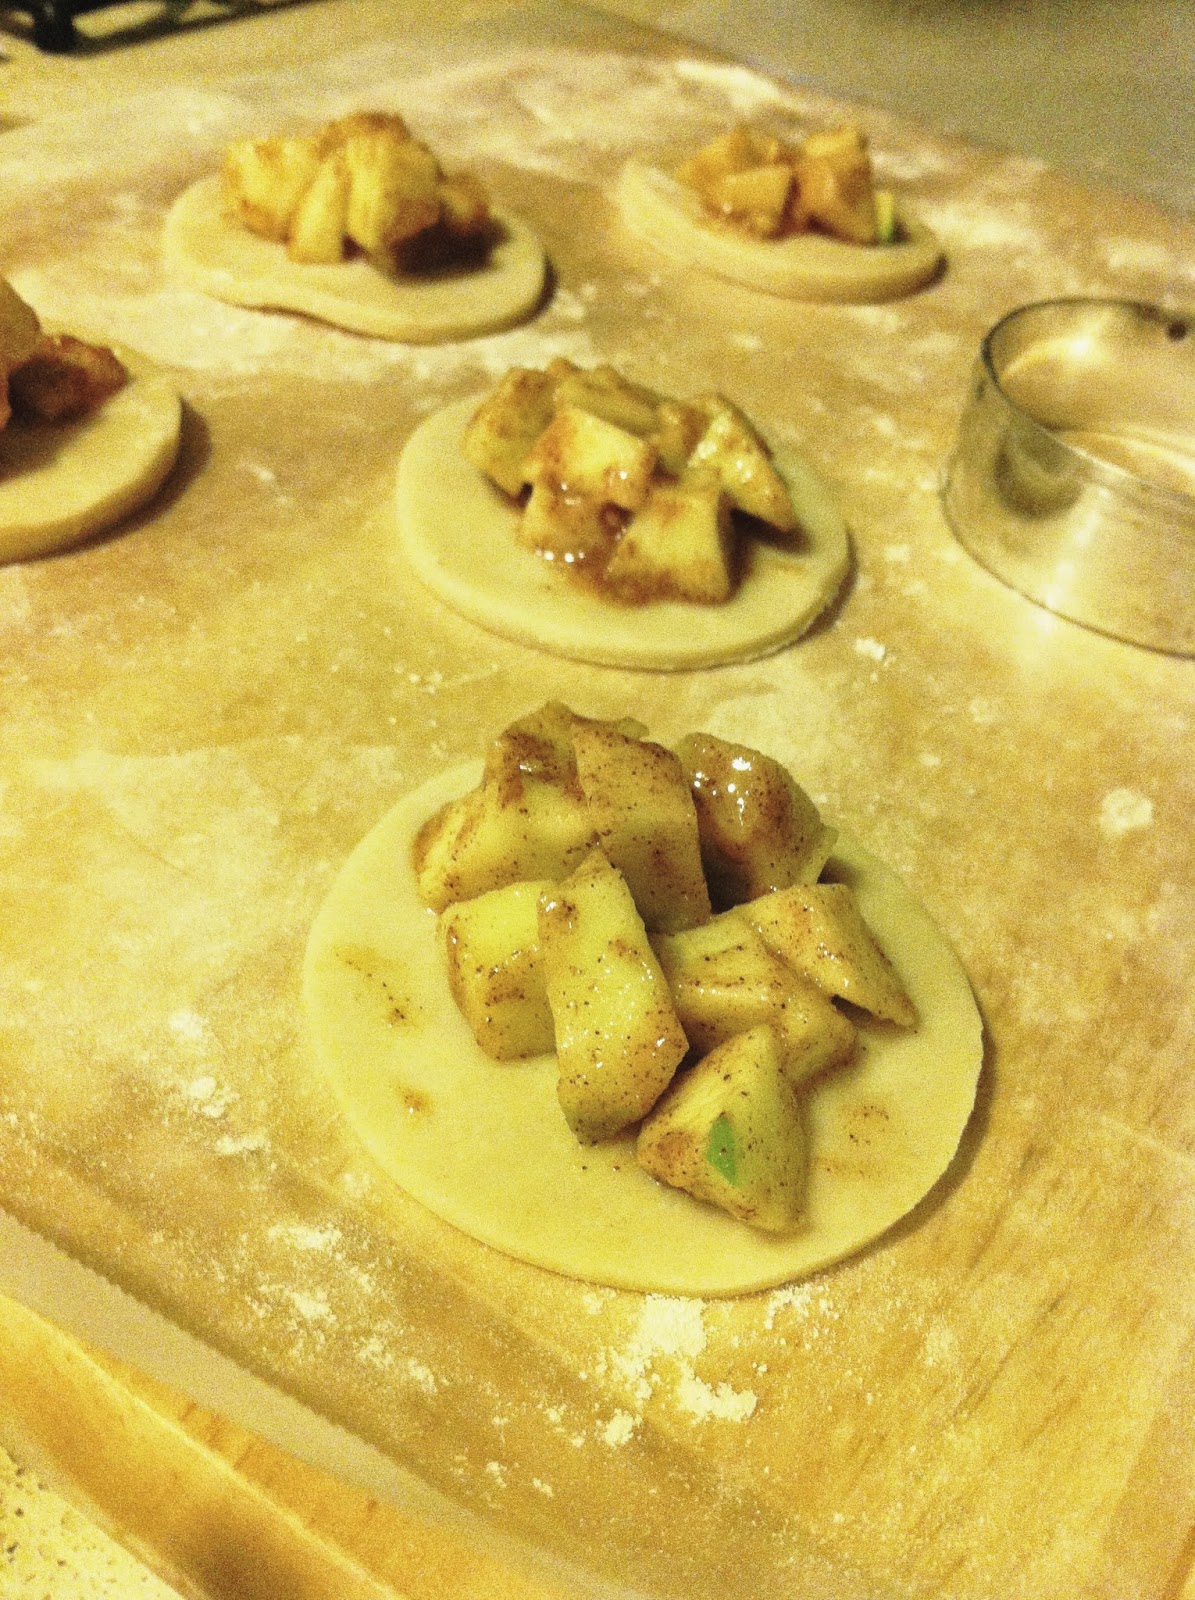
Step 1: Combine apple cubes, cinnamon, lemon juice, flour, and sugar.
Step 2: Roll out dough and use a three inch cutter or glass jar to make the circles.

Step 3: Spoon tablespoon scoops of the apple filling onto half the circle cutouts.
Step 4: Now place the caramel cubes around the filling. Cutting the store bought cubes into four smaller cubes may be necessary. Do not over fill!
Step 5: Place a circle cut out over the filling and press down all around the sides. Use the end of a fork to form the lines on the edges.

Step 6: Spread the egg wash over the top of the mini pie, and then sprinkle crystal sugar. The egg wash acts as a glue for the sugar and dough and gives the mini pie a little glow.

Step 7: Preheat over on 425 degrees. Cook for 15 minutes and you will have tasteful and cute mini apple pies.

Thanks for reading. Hope you guys enjoy! :)


Monday, July 28, 2014

Making a Camera Strap


I have had this material for awhile now with the intentions of making a camera strap. Since I got my new camera I have been bugging my dad to help me make one, because he is a lot handier with things like this. Yesterday we finally got time to make it. All we did was double the material and we sewed the two edges together, and then slid the oringinal camera strap through the space in between the sewed edges of the material. You can find material like this at any Wal mart, Hobby Lobby, or any kind of store with a variety of material. It's easy and fun to make and will make your camera a lot more stylish. Hope you guys try it out! :)